
Blistering sun. Pounding rain. And the occasional hurricane. They all take a toll on the exterior of your home.
Exterior Painting

After

Before
Not to mention the changing color trends since the last time your home’s exterior was painted.


color tells a story. that’s why we are so passionate about color and wanting to make sure you choose the right shades and combinations for your home.
IF ROOMS COULD TALK! BRING YOUR HOME BACK TO LIFE, ONE ROOM AT A TIME OR ALL AT ONCE. THE YEARS DON’T JUST TAKE A TOLL ON EACH OF US. THEY TAKE A TOLL ON YOUR HOME. LET US HELP YOU ZAP NEW ENERGY INTO YOUR HOME.
INTERIOR PAINTING

A local wildlife photographer wanted to showcase many of his pictures throughout his home. He was looking for a way to draw focus to the stunning imagery.
We started with a wall in the family room to feature his Polar Bear collection. Next we identified a wall in his office where he wanted to feature some of his best underwater work.
We helped him select this dark gray that serves to focus attention on the bright beautiful images of an under water world that many of us will never see.

Painting your walls is a great way to give a facelift to any room in your home. But don't limit your creative thinking to just the walls.
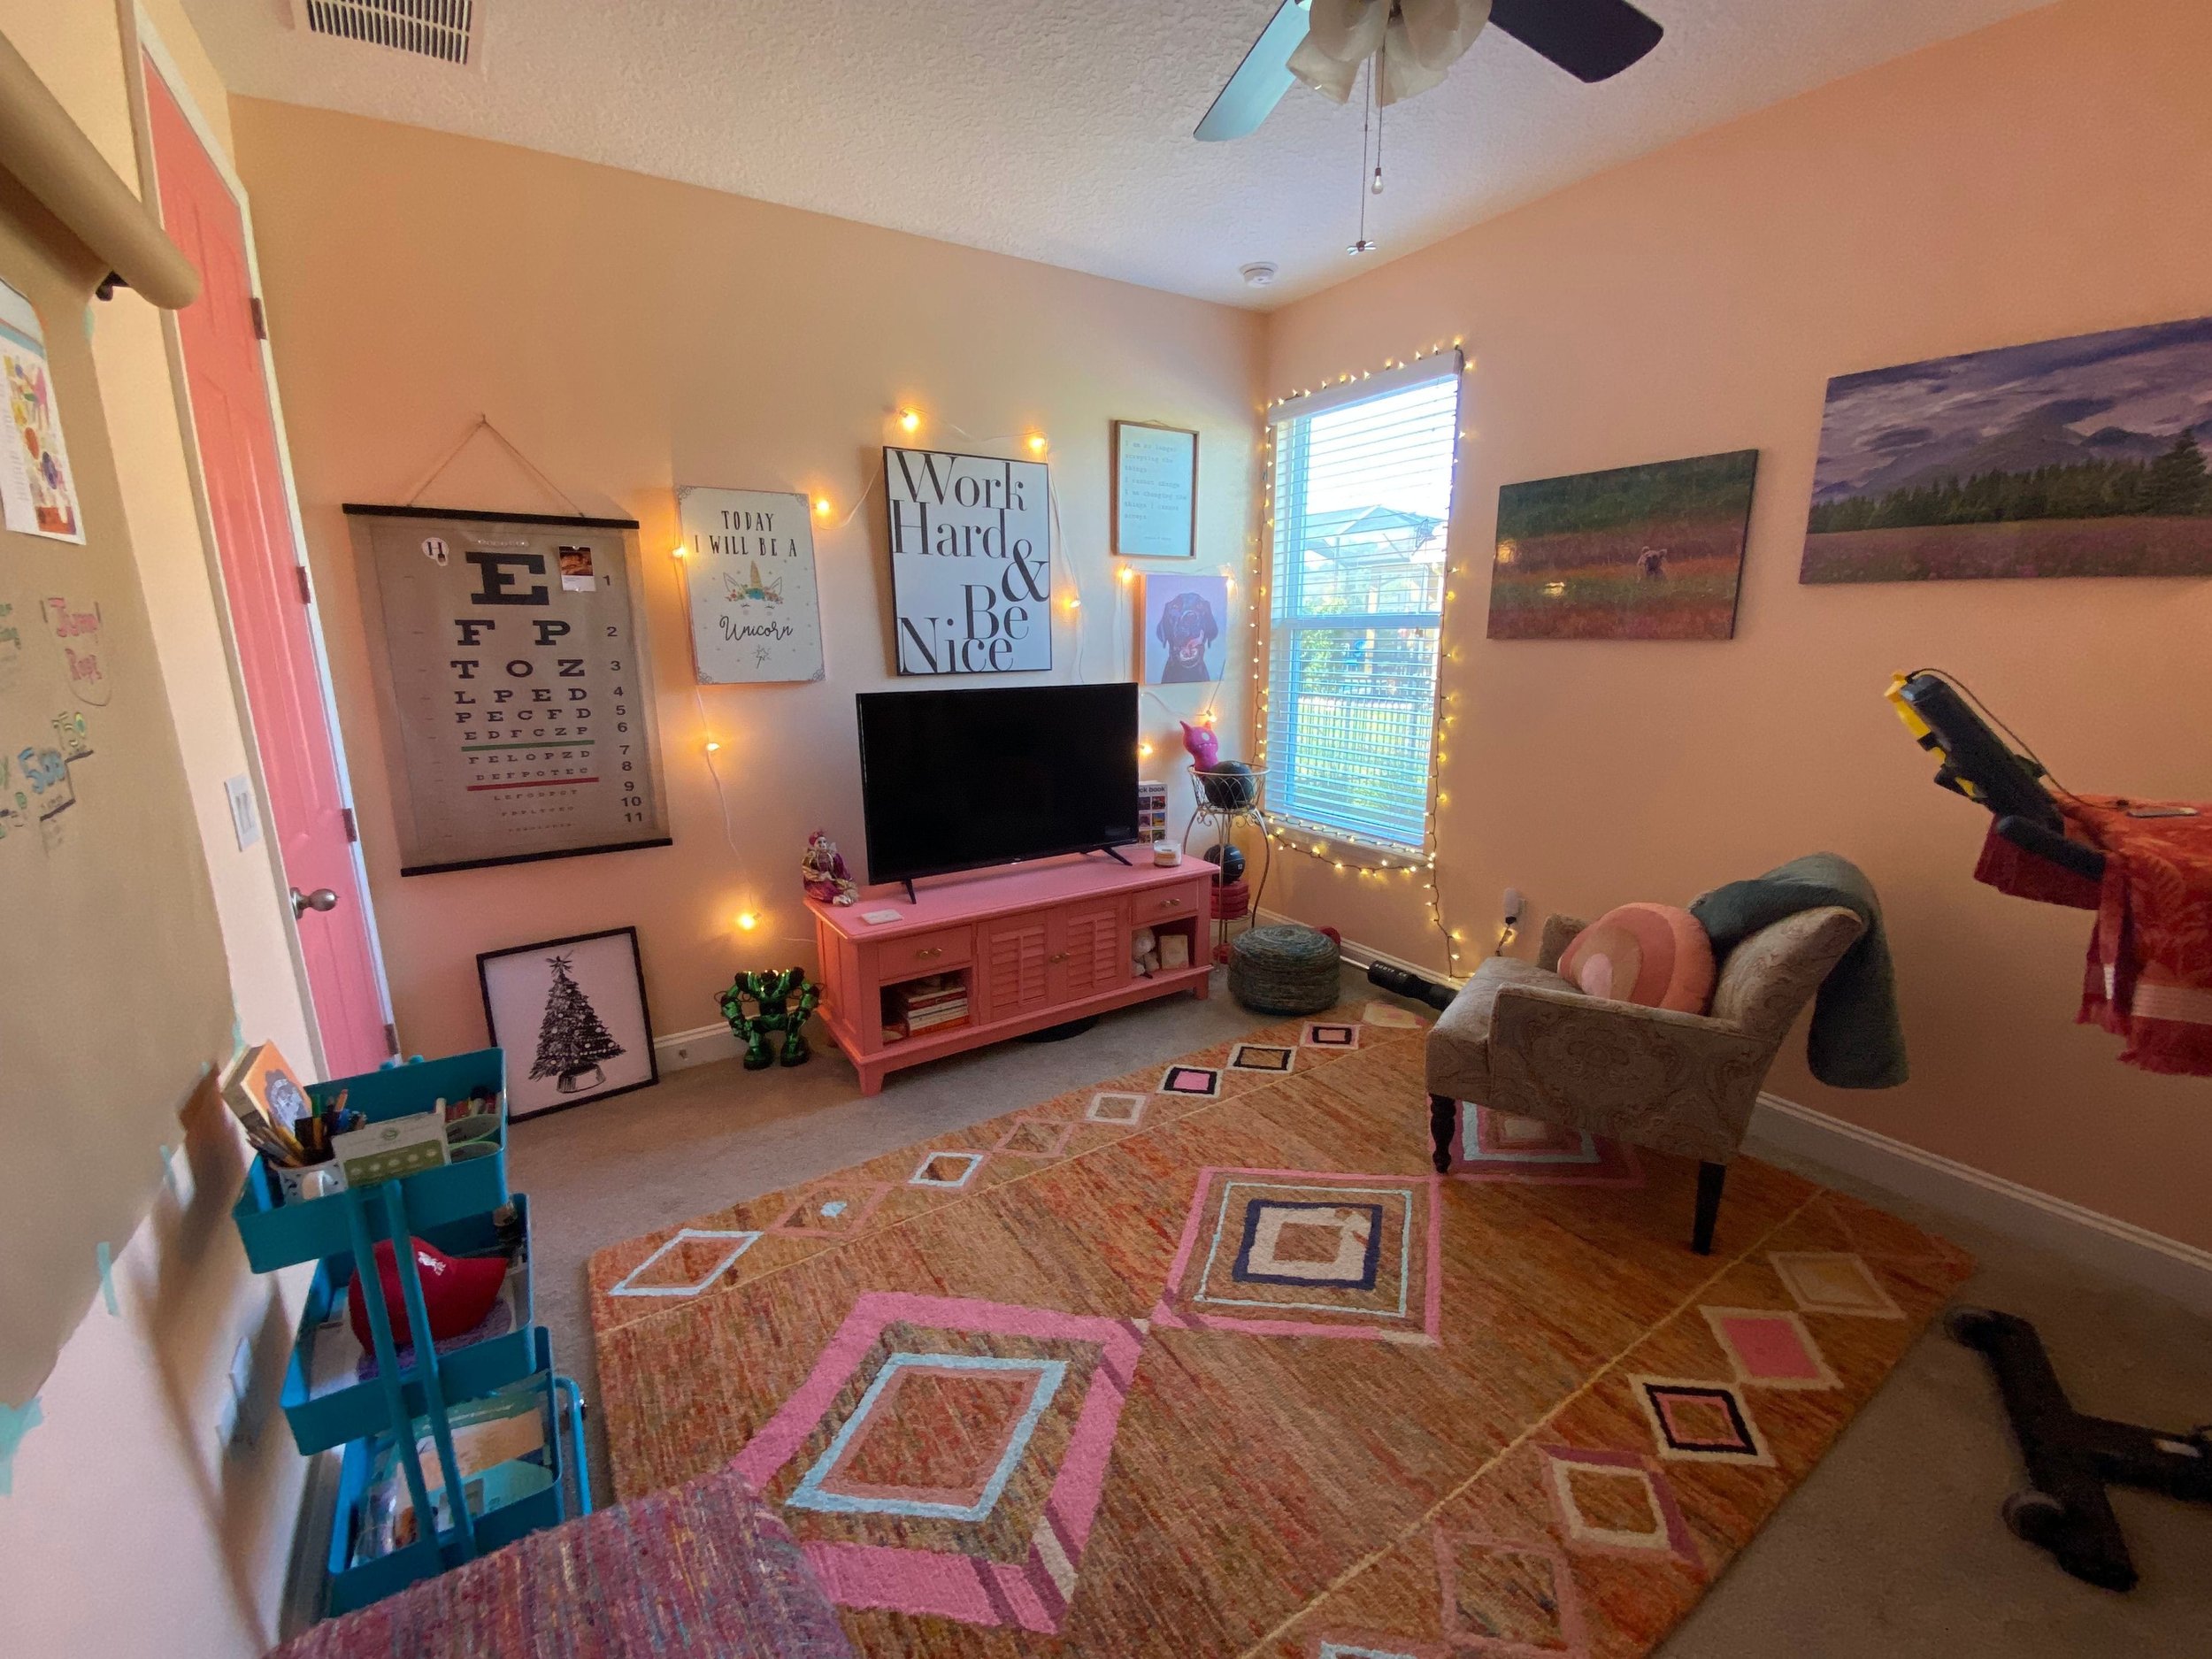
Furniture. Doors. Ceilings. From boring beige to peachy perfection, this clients’ inspiration started with one simple piece of furniture that she was getting ready to donate.
Instead of donating this TV stand, it now serves as the focal point for this total room renew.
Cabinet refinishing is a more affordable way to give your kitchen a brand-new look. It is a multi-day, multi-step process that will make your old cabinets look almost factory new.
Cabinet Refinishing
Home Prep: We start by taping off the entire inside work area from the rest of the home. Depending on the space, this prep work could take 1-2 days. In this instance, we were working in a kitchen. You can see that whatever area is being worked on will not be accessible for use during the time of the refinishing work.
Once we remove the cabinet panels and drawers, we sand and prep the cabinet base units for priming. Above you can see the base units after the first round of sanding and priming. The amount of sanding needed is determined by the condition and the original material of the cabinets. After sanding, these pieces are sprayed with Extreme Bond Primer and must "sit" for 24 hours.
It may be necessary to do a second round of "light" sanding following the primer coat. After that, the first coat of paint will be sprayed on. This needs to "sit" for 24 hours before sanding lightly again, if necessary, for small imperfections, before applying the second coat of paint,which needs another 24 hours to dry.
Once the second coat of paint dries for 24 hours, the cabinets are re-assembled in their original position. At this point, it is important to still be very careful for the next month or so. The paint will continue to cure and harden. So no chemical cleaning products should be used. A light wipe with warm soapy water is okay but no hard or repeat rubbing should be done at this point.

This is a before photo of the client’s kitchen shown in this video series. The client was tired of the beige and cream combo and wanted to add a little bit of color into the kitchen. In addition to the cabinetry work, we also painted the walls a shade of grey - getting rid of the beige/brown that you see in this photograph.

In this after photo you can appreciate the transformation of this kitchen. The client selected Sherwin Williams Evergreen Fog for the main cabinetry and a complementary color of Felted Wool for the island. In addition to the cabinetry work, we also painted the walls a shade of grey.